So you have your stage set and you are ready to add some lights. But to your dismay there is no way to mount lights on the ceiling, even if you had a professional light kit. So what do you do?
Knowing that the above scenario is all too common, you do still have options for lighting your show. Let's add in the additional issue of budget and say that all you have available are some clamp lights from the local hardware store and a handful of LED or CFL bulbs. What can we do to light our show?
The 45 Degree Rule
The ideal scenario is to have your lights at a 45 degree angle to either side of the stage, or 45 degrees above your stage. While we won't be able to achieve this completely, we will keep this rule in mind and do our best to make it happen.
Wash vs Area
With the equipment at our disposal, we will want to focus on doing an all over wash of the stage, rather than trying to light specific areas. As our budget allows, adding more or better lights to our kit will allow us to then focus on specific areas down the road.
Foot Lights
With the above two ideas in mind we can now examine our first option, which is the tried and true Foot Light set up. This type of lighting can still be seen in period movies today. In its original form, candles or lanterns were placed along the front of the stage with reflectors guiding the light up toward the actors. With our clamp lights we can make small stands to clamp them to, or just lay them right on the floor if we are really in a pinch.
Even in this low position we can still try to follow the 45 Degree Rule by pointing our lights at each part of the stage at 45 degrees. The result is an even wash, that will highlight the face well, but may cast lots of shadows on our backdrop.
Low Beam
One step above the Foot Light is the Low Beam. Our ideal scenario would be a beam mounted to the ceiling, however, in our current situation a beam standing on the floor can be just as effective. We can accomplish a 45 degree up angle from the low beam, however we will still have those troublesome shadows mentioned with the Foot Lights.
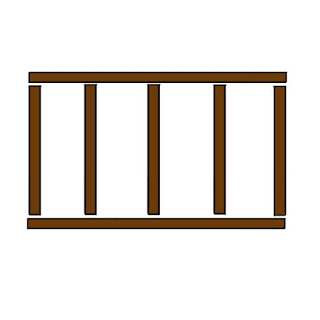
Truss or T-stand
This option can get our lights somewhat up in the air, on a vertical truss or t-stand. We may not get our 45 degree up angle, but we can certainly get 45 degrees out from the stage in either direction. Be careful of sight lines though! You don't want to block any audience member from seeing the show because the truss was placed in just the wrong spot.
Corner Lighting
Similar to Truss or T-stand, Corner lights are placed along the corners of the stage on whatever you have available. You may have one light on the ground while the others are clamped to a book case or pole just off stage behind the grand curtain. This is a little more seclusive than the Truss by itself, and it gives you the option to point lights at the backdrop to lose some of those shadows made by other lights.
A Combination
While each of these options have their pros and cons, you can combine methods to get a pretty reasonable set up for your show. For example, using Foot Lights and Corner Lights could eliminate the shadows on the backdrop while still illuminating the actors faces well along the front of the stage.